
Published with Blogger-droid v1.7.0

 |
| Made a plate to protect the case and add rigidity and support for the pulling procedure. |
 |
| I ended up welding the shaft of an existing puller onto the breather gear, making sure to put the nut on first. Note the color of the weld. That's the aluminum bronze rod I mentioned a couple days ago. I made a couple short beads with ER70S-2 filler rod and it cracked, so I switched the machine to AC, grabbed a stick of aluminum bronze and problem solved. |
 |
| Notched a heavy I-beam so it would slip around the stud. I used this as the fulcrum base because the gear needs to be pulled strait out and cant be turned. |

 |
| It's a crude looking tool but it only took and hour to make and it works |
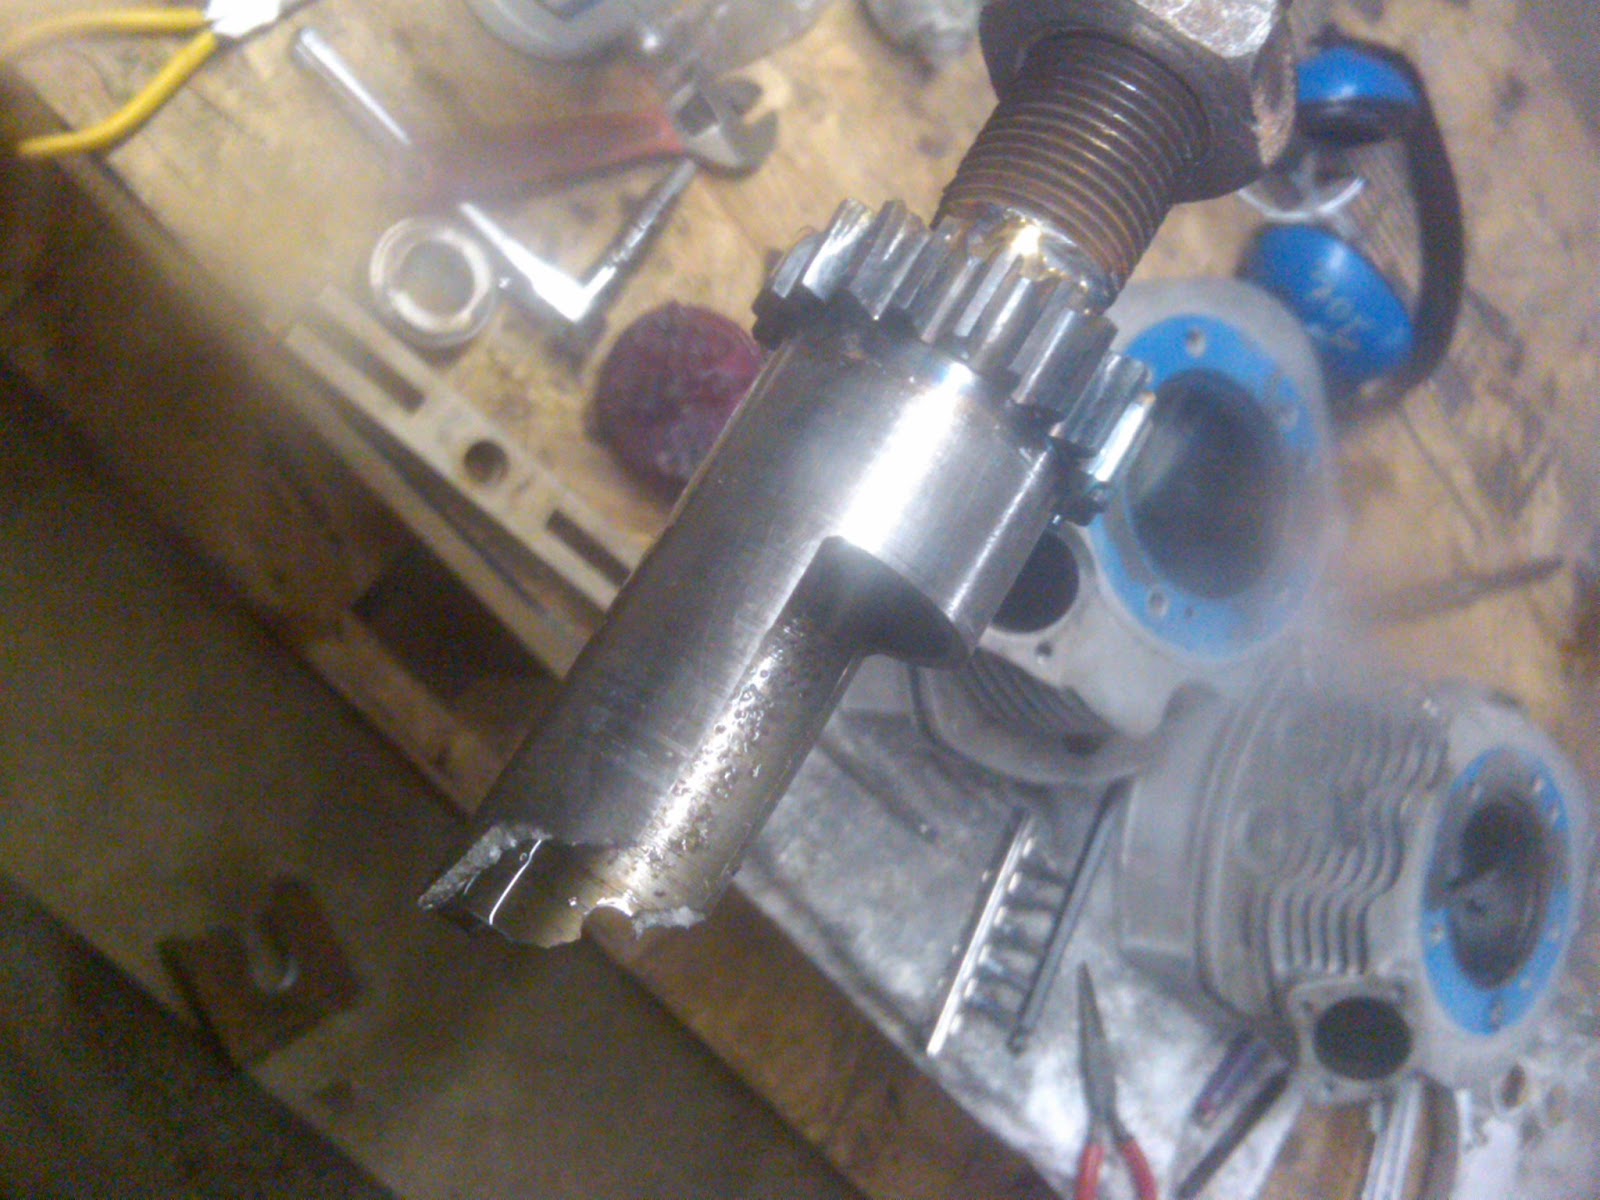 |
| I got the gear 3/4 of the way out and it ended up snapping. I tried coxing it around while still in the bore but there was half a spiral clip wedged deep in there and it wouldn't come free. |
 |
| The other half of the gear stuck in the pocket |

 |
| Well, I got everything out and I don't really feel one way or the other about the amount of damage. Before I attempted to get the gear out there were hair line cracks all over the outside of the pocket and there was just no way that gear was coming out with all the shrap metal wedged behind it. I was planning to ream it and machine a sleeve anyways. Maybe I'm numb, but at least I'm confident. |


 |
| I am using 1/16" 1.5% Lantinated tugsten as I mentioned before in an earlier post. I sharpen the tip with a steep angle and remove the point so there is a flat on the tip. |

 |
| For this weld I used filler rod and taveled relatively slow considering the work. I was welding two pieces of pope together and one was a thicker wall than the other. I didn't want a lot of the bead to spill over the edge and my current welder doesn't have a frequency adjust knob so I was stuck runing a slower rate of travel, manualy pulsing at around 1 pulse/second. |
 |
| This weld I decided not to use any rod and just purge the two metals together. Notice how the bead makes a Z type pattern, that was done by moving the torch side to side slightly and pulsing with every movement. |
 |
| Notice the shiny ball at the end. As I mentioned before if I had been using pure tungsten this ball would be around 3/32" father than the much smaller 1/16" ball I have here. This magnifies the cone effect of the arc and makes controlling it much more dificult. |


 |
| Finished, runs perfectly true. |

 |
| The cup ended up cracking from the heat and the tungsten got bent some where in the mix. |


