Thursday, December 30, 2010

6"x 6" of 6061

Time to make my rear hub

Snowed in

So we got hit with a decent size storm a couple days ago. We got about 18" of snow but the wind was really bad. I went to grab the plow truck from the barn and this is what I found.

Saturday, December 25, 2010

Tail Light Lens'

I have been getting a lot of interest as well as orders for my new parts thanks much in part to http://manjichopper.blogspot.com. I am very grateful and excited about   this, however I acted prematurely in posting the lights (as I have come to find out). I pride myself on perfection and am not one to offer a product for sale with out being 100% satisfied with what I am offering. I am also still getting the entire tail light/license plate bracket/housing made and finalized. The light assemblies I have sent out already were made to order pieces and they were quite laborious to make. I'm not complaining by any means and am more than thankful for your interest, but regretfully I need to put the current orders on hold for the next two weeks while I catch up and get some stock made. I have also made a new mold of the current lens I am offering for sale and those of you who have purchased the old style will be receiving a new lens free of charge. I apologize for the inconvenience and will be working as fast as I can to get enough stock to open the line of tail lights once and for all. Don't forget I am only one person making each assembly by hand. I will let you all know as soon as everything is done and ready to ship. keep an eye out for the updated pictures. Thanks for your support and happy holidays to you all! 

Monday, December 20, 2010

Aluminum TIG Welding

I was asked if I would share some insight and pictures on the way I weld Aluminum. Here is the rundown with pictures. I use a few methods to weld Aluminum and I didn't need to use them all for this job so when I get the chance in the future I will make an updated post.

I am using 1/16" 1.5% Lantinated tugsten as I mentioned before in an earlier post. I sharpen the tip with a steep angle and remove the point so there is a flat on the tip.


I am using ER4043 filler rod for it's superior wetting characteristics. I prefer 1/16" rod for finished welds because the bead is smaller and more controllabe when it is added to the puddle. It also flows much easier and allows a faster rate of travel.
For this weld I used filler rod and taveled relatively slow considering the work. I was welding two pieces of pope together and one was a thicker wall than the other. I didn't want a lot of the bead to spill over the edge and my current welder doesn't have a frequency adjust knob so I was stuck runing a slower rate of travel, manualy pulsing at around 1 pulse/second.

This weld I decided not to use any rod and just purge the two metals together. Notice how the bead makes a Z type pattern, that was done by moving the torch side to side slightly and pulsing with every movement.


Notice the shiny ball at the end. As I mentioned before if I had been using pure tungsten this ball would be around 3/32" father than the much smaller 1/16" ball I have here. This magnifies the cone effect of the arc and makes controlling it much more dificult.


Sunday, December 19, 2010

Tailight

I got the process figured out and there are no traces of bubbles in the plastic anymore. One of the many things I have been working on lately are the backings and license plate brackets for these.

SUS Exhaust


Helped my brother with the exhaust system for the bike he is working on. We got a good start considering we cut out early and I was bouncing between three other things today.

Saturday, December 18, 2010

Fixture

Spent the better part of the night making this fixture to hold triple clamps in place while welding. I can also drop the steering stem under the bottom of the clamps for more clearance with shortened forks. I had a flashback to high school when it was time to do some geometry, thank God I payed attention some of the time.


Friday, December 17, 2010

Busted out the 4-Jaw

Had to machine the inside of both sides of the bottom triple clamp. When I measured the fork it was 41.50mm and the inside of the tree is 41.15mm give or take. Weird but whatever. Since it needed to be machined I decided to split the clamp and narrow it 2". I made a fixture to hold everything square and once both clamps are finished I will post more pictures.

Oil Tank Mounts

Got some work done today. Nothing finished, just roughed in.


Thursday, December 16, 2010

Monday, December 13, 2010

Modified Hub

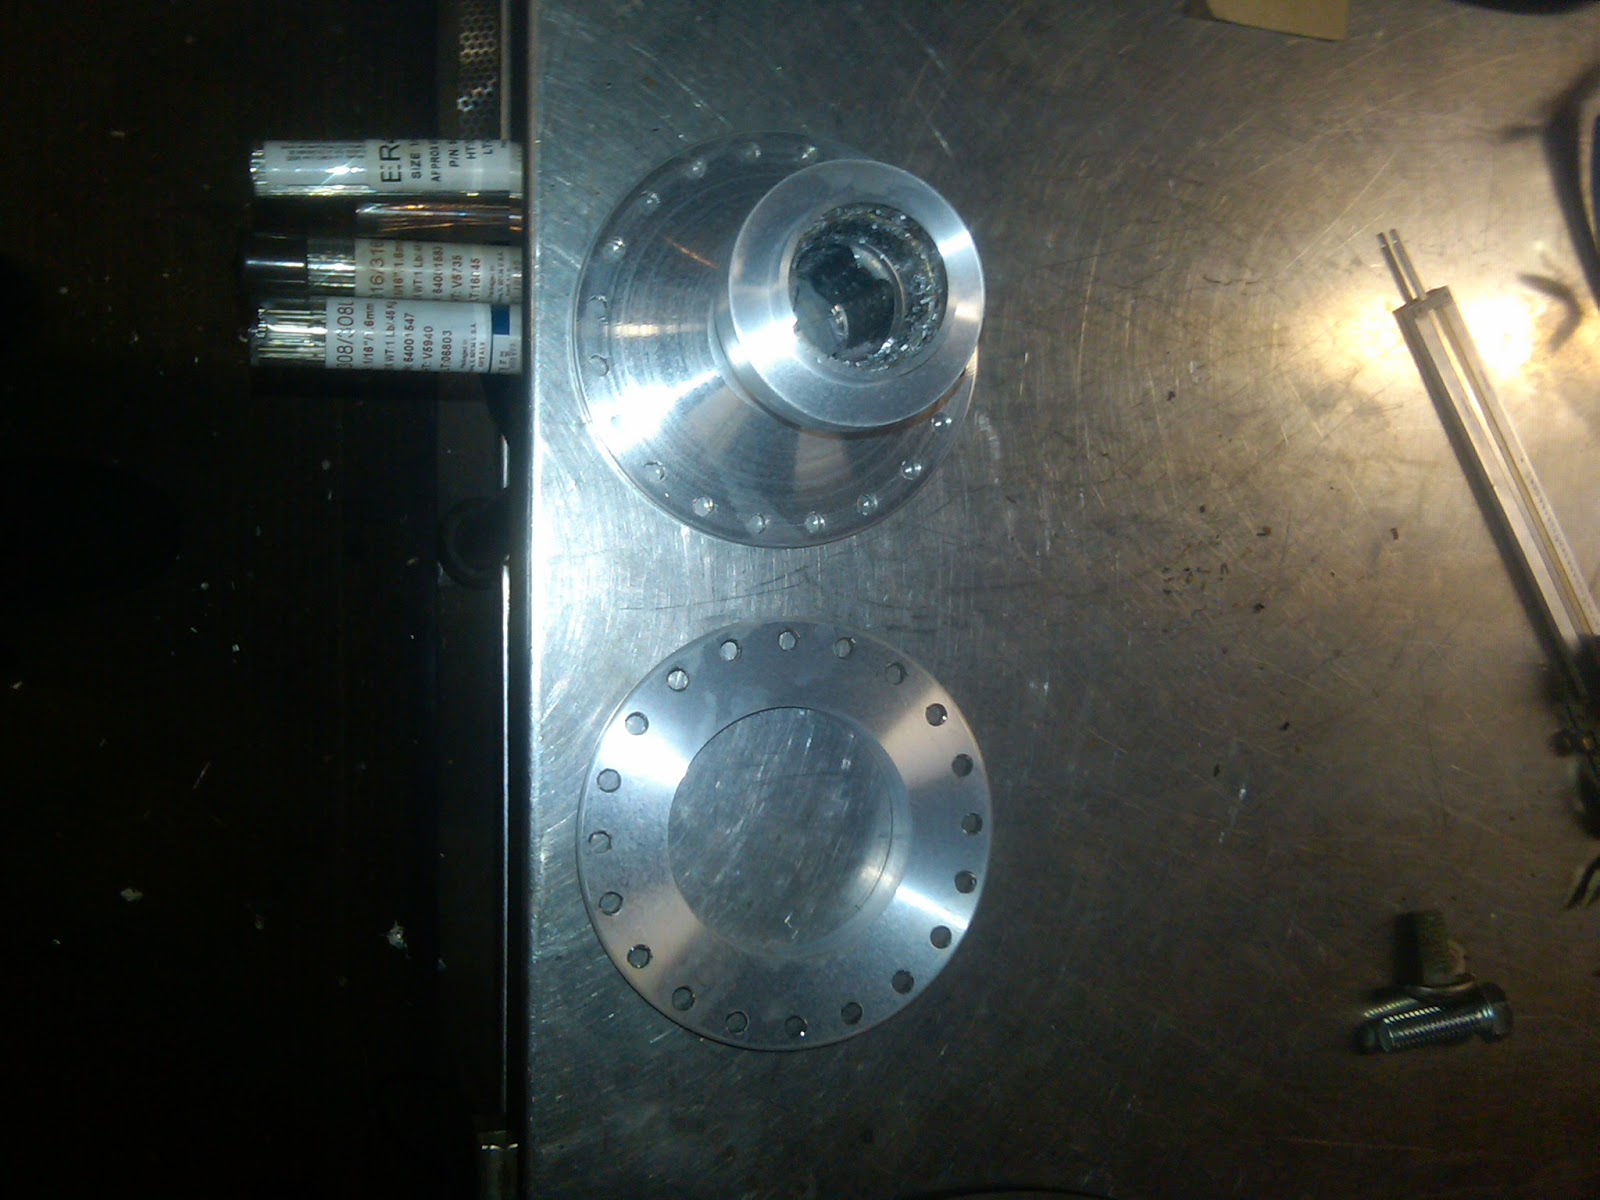
Had to make a radius shaped parting tool so I could part the hub on it's face or x-axis rather than the y-axis
Jig to align spoke holes and hold the removed section square and with an even gap. It worked well and after tacking run out was only +/- .005. Final truing done with dial indicator.

Saturday, December 11, 2010

Update

So, between having to machine the hold down block as well as needing to make the wedge locking arm for the brand new tool post purchased through a leading machine tool distributor; I have been able to make two more castings of the tail light. I worked out all the major issues and the last one I poured looks great. Now that the lathe is all set I'm going to make the backs and license plate brackets. I figure I will make them AXLE MOUNT so they can be sold as a bolt on kit without needing to make your own brackets. I'm always open to suggetions....

Tail lights!!!

I finished the first design and mold then cast the lense in ruby red. I'm going to be making these tail lights avaliable as a complete ready to go kit with a license plate bracket and 2" LED. I am also going to be making another few designs so look out for them in the very near future! Email me if you are interested, they will also be avaliable on my website soon; working on that as well.

Original Clay Model

1/2 of the Mold

Still Tacky and Soft but it Looks Amazing in Person!

Thursday, December 9, 2010

New Parts!!!

Like I promised I have been dreaming up some possible ideas for parts; well the first idea is in the works. I do have pictures but I think I'm going to wait till I'm done before I post them. I'm pretty excited but stressing, so lets hope all goes to plan. I should have the first one up tomorrow.

Winged Wheel Air Cleaner

Some pictures I took while making the air cleaner for the Flower of Death bike. I didn't take pictures of every step because there would have been way too many but this will give a basic idea.


Wednesday, December 8, 2010

Stolen from Sp@retime.jp

This bike is killer, look at the finish; it's obviously hand made but find a flaw. Lock pointed out the top motor mount to me last night. It's identical to the one I built for my bike, weird.